The Standard Cyclo
Posted: Monday 21st September 2020
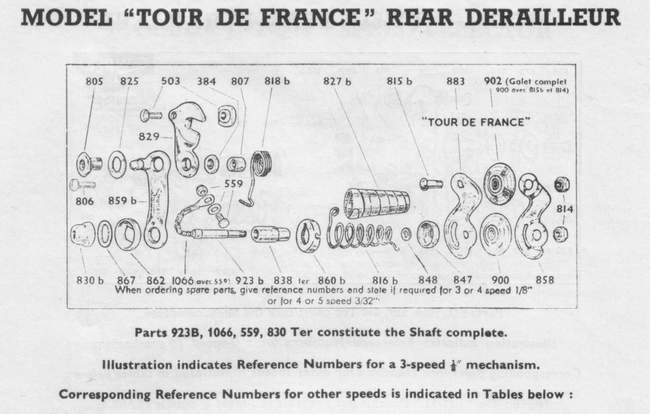
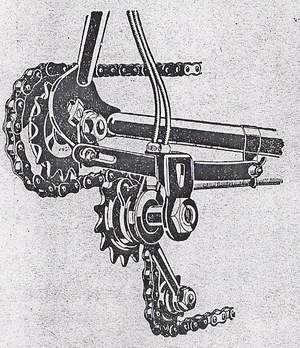
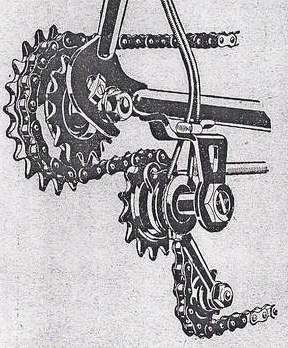
The double-cable standard Cyclo with its helicoidal sliding action was probably the most widely used of all deraillers by cycle tourists and tandemists from the mid 30’s until the early 50’s. First made in France, the two-speed from 1924, three-speed from 1925. Changing requires very little effort, is silent, in short a joy compared to a plunger type mech. The only down sides are the weight and complexities of setting up.
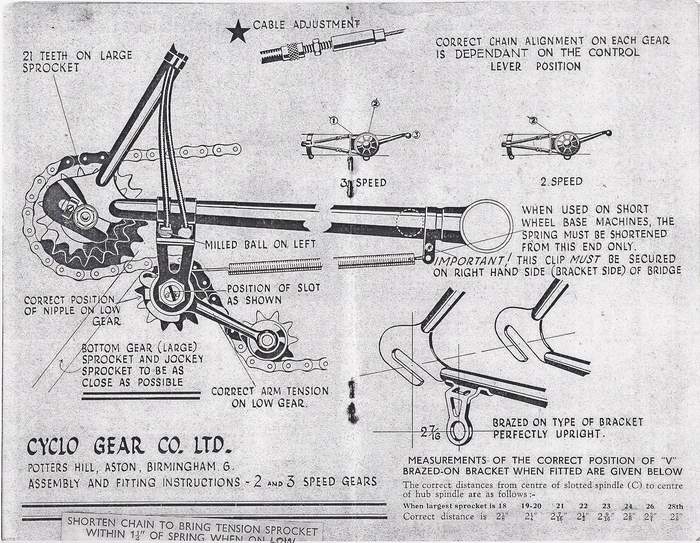
The guide reproduced below from a pre-war Cyclo booklet should be followed in conjunction with the following points:
1. Types British made Standards were all for 1/8 chain and all steel. You can tell which one you have by the length of the smooth non-threaded part of the slide shaft:
2-speed 36mm 3-speed 44mm 4-speed 54mm
The 2-speed version is very useful for Sturmey conversions as the Cyclo will quite sweetly change over a very wide ratio say from 14 to 28 teeth.
French Cyclo made an alloy version for 3/32 in 3/4/5-speed.
For setting up the Oppy, a medium range deluxe (ie chromed 3-speed 1/8 version), the principle is the same except a smaller diameter lever /cable is used.
2. Dating; British Cyclo’s have the year stamped at the top of the outside of the jockey arm.
3. Critical to good changing is chain length (the bottom jockey wheel should be 30mm away from the spring when in bottom gear) and position of mech on chainstay relative to large cog. Even with a braze on bracket there should
be some adjustment.
4. The most common problem when riding is cable breakage usually at the mech end. This is due to incorrect fitting. In top and bottom the cable nipple should be be above the 3 and 9 0’clock position on the drum.
5. Rear end adjusters are a good idea so that they wheel goes back exactly in the same position.
6. Maintenance: very simple apart from checking the cable position – oil on the sliding shaft. The mechs themselves are very durable.
7. Setting Up
1. The position of the mech on the chainstay is determined by the size of the large sprocket as shown on the diagram
2. Adjust the throw of the mech in the same way as any other plunger type mech, i.e. the top jockey wheel moves from under the centre of the large sprocket to centre of the small sprocket. Use a screwdriver to adjust the throw by turning the spindle . Once you have the correct position hold and tighten the spindle nut The position of the freewheel
can be adjusted by using a spacer behind it.
3. Fitting the cable fit at the gear end first keeping the milled ball on the left hand side. Secure the nipple in the groove on the pulley
4. Place gear lever in the furthest forward position and fit the cable using the adjusters to take up any slack For two and three speeds it is essential that in high and low the nipple does not move above the 3 and 9 o’clock positions. If it does it will put excessive strain on the cable and cause breakage. When the control, lever is vertical the cable nipple should
be at the bottom of the groove ( 6 o’clock position).
5. Fit the tension spring and finally the chain noting the length is determined by when it is on the highest sprocket it should be within 30mm of the spring.
NB Fitting the Cyclo Oppy is similar except it uses a lever with a smaller diameter barrel and thus a cable with less bare wire at either end.
Posted: Monday 21st September 2020
Upcoming Events
Whether you are looking for a gentle social meet up, or a 100-mile ride browse the community’s upcoming events and plan your next weekend outing.


