Adjusting Benelux Gears
Posted: Monday 21st September 2020
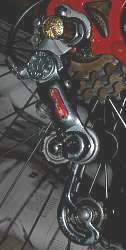
Usually your newly installed Cyclo Benelux toggle-chain (pull-chain) rear gear will work well across your 3/4/5-speed freewheel. The basics: your chainline has to be correct with the rear wheel correctly dished, with the chainwheel in line with the centre cog of 3 and 5-speed freewheels, and midway between the second and third cogs of a 4-speed freewheel.
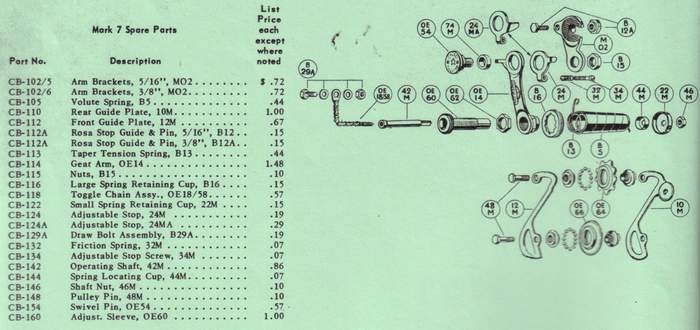
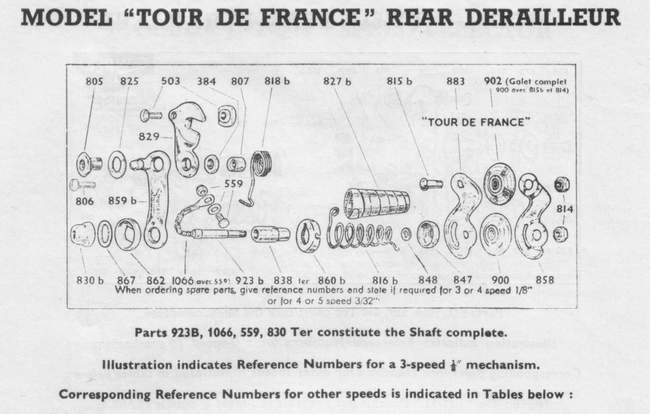
The Benelux gear has a threaded adjusting sleeve with lock nut (through which the toggle chain passes) which you set so that the gear pulley lines up under the largest freewheel cog. First, screw the toggle chain fully down, and then unscrew it one turn so that it is free to rotate. Then make the gear’s horizontal adjustment to line up the pulley under the largest freewheel cog. Do this before you attach the shifter cable to the toggle chain, and make sure that the pulley cage is parallel with the freewheel. Then attach the shifter cable to the toggle chain but do not stretch it tight in attachment (contrary to what you might do with later gears). Then tighten that lock nut after the cable is attached. Adjust the stop screw so that the chain will have one complete link (three rivets) from where the chain leaves the largest freewheel cog and meets the pulley of the gear. Adjust gear tension for appropriate chain wrap and do not over-tension.

There is no adjustment for the gear to pull into the smallest (outside) freewheel cog. You pull your gear shifter back and you either make that small cog or you don’t. If you can’t shift onto the small cog, and the above adjustments have been made properly, consider these actions:
* verify that your Benelux gear is marked for the number of freewheel cogs and chain width you are using. For example, you may not be able to get a 5-speed freewheel to work with a gear marked for 4-speeds.
* clean and lube the gear well and work it by hand vigorously and repeatedly, limbering it up. Make sure there is no dried waxy grease inside impeding freedom of movement.
* shift the freewheel inboard a bit more, so that the gear may then drop readily onto the smallest freewheel cog, while maintaining the proper width over locknuts distance for the hub/frame. You can use a thinner washer, cone and/or locknut on the non-freewheel side, and compensate accordingly with thicker washer(s) on the freewheel side. You will have to re-dish your rear wheel since this alteration changed the centering of the rim between the dropouts.
* add a washer to the gear arm bracket assembly (the gear hanger and swivel pin/nut assembly), between the gear arm and the bracket, in order to shift the gear outward a tad more in relation to the dropout. Then you don’t have to push the shift lever quite as far and hard to shift onto that smallest freewheel cog.
* if the gear is still having difficulty reaching the smallest freewheel cog, try another Benelux gear for comparison if you have one; perhaps the gear you are trying is bent and not worth more time in figuring out. If your difficulty is an inability to shift onto the smallest cog of a five speed freewheel, consider giving up and using a four speed freewheel. Maybe you
really don’t need five gears anyway.
* finally, in extremis, bend the gear outward a bit more so that it can more easily reach that small cog, but this requires bending on both ends of the gear arm so that the pulley cage continues to hang down parallel with the freewheel. After doing this, the gear may now have difficulty reaching the largest freewheel cog. You bent the gear outboard and fixed it to reach one side of the freewheel, and now have “unfixed” it to reach the other side of the freewheel. Check to make sure your gear is at its maximum adjustment to reach the largest freewheel cog. If it is, then you can remove the lock nut
on the threaded adjusting sleeve through which the toggle chain passes, in order to increase the horizontal travel of the pulley cage so that the gear can then reach that largest freewheel cog. This is a desperate measure since the locknut served a function. Some non-permanent thread adhesive can be used on the threaded adjusting sleeve as a “replacement” for the lock nut.

If you find it difficult to reach the smallest freewheel cog try dismantling the sliding rod assembly and cleaning it, lubricate, re-assemble and start adjustments over again. This assumes that the changer is correct for the block being used, especially if it has worked OK in the past.
Dirt and grit can sometimes work their way into the mechanism and restrict the travel of the sliding rod.
Posted: Monday 21st September 2020
This article appears in the following categories.
Upcoming Events
Whether you are looking for a gentle social meet up, or a 100-mile ride browse the community’s upcoming events and plan your next weekend outing.
